Better Homes and Gardens contributing editor, Danny Lipford, shows you how.
DIY Concrete Resurfacing
Though concrete is a durable surface, concrete driveways deteriorate and develop cracks over the years, Rather than going through the expense of removing the slab and pouring a new one, you may be able to fill and resurface the existing concrete.
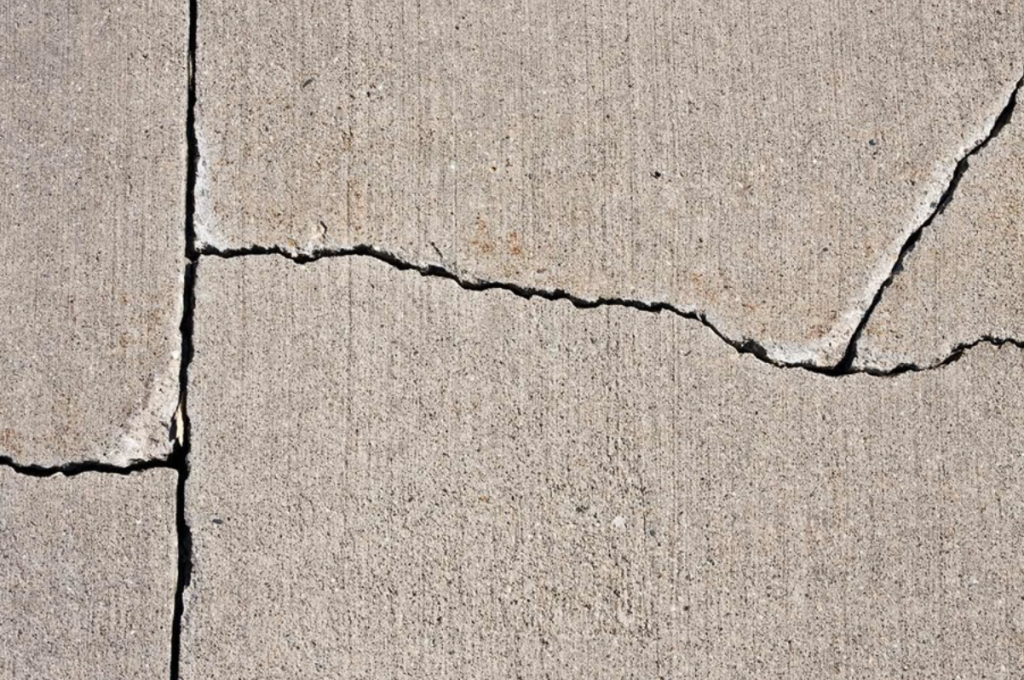
Cracks in Concrete
Cracks in concrete can be caused by tree roots and soil movement, as well as freezing and thawing cycles in the winter and expansion during the summer.
Clean Concrete
Before the driveway cracks can be filled, it must be thoroughly cleaned. A pressure washer is a great way to remove mold, mildew, and dirt. Start by wetting down the concrete to prevent the cleaner from drying too quickly.
Fill Cleaning Solution Reservoir
Purchase a masonry cleaning solution that includes strong degreasing agents or agents that get rid of plant staining and mold. Add the cleaning solution to the pressure washer reservoir.
Apply Cleaning Solution
Spray the cleaner on the surface of the concrete using a low-pressure nozzle following the instructions on the container.
High-Pressure Nozzle
Once the cleaner has been applied, attach a high-pressure nozzle to the pressure washer.
Clean Concrete
Clean the surface of the driveway thoroughly using the high-pressure nozzle and settings. Clean debris from cracks, and remove any dirt or loose concrete.
Mix Concrete for Repairs
Pour enough dry concrete mix into a 5-gallon bucket to repair any cracks and patch damaged areas. Sand mix or concrete resurfacer, which do not contain gravel, may be used if the area to be repaired is not large or deep. A standard concrete mix that contains gravel works best for patching large or deep areas.
Concrete Consistency
Mix the concrete with water to a thick consistency similar to cookie dough. A mixing paddle chucked in a heavy-duty low-RPM drill makes quick work of preparing the concrete.
Pour Concrete on Cracks
Pour the mixed concrete in the cracks and damaged areas.
Fill Cracks
A flat edged trowel is used to work the mixture into the cracks.
Smooth Cracks
Once the cracks and other damaged spots have been filled, use the trowel to remove excess concrete and smooth the surface.
Drying Time
Allow the concrete used to fill cracks and other damaged areas to dry overnight.
Mix Resurfacer
After the repair work is complete, it’s time to apply a thin coat of resurfacing concrete over the entire driveway. Mix the resurfacer much thinner than the concrete that was used to repair cracks, making it about the consistency of pancake batter. Before applying the resurfacer, blow or sweep off any leaves or debris, then wet the surface down to keep the concrete from drying too fast.
Spread Resurfacer
When the driveway is ready, pour the resurfacer out and spread it using a rubber squeegee, working a small area at a time. Getting an even coat without lap marks takes practice.
Finishing Up
When the concrete begins to set, a broom with an extended handle can be used to give a bit of texture to the surface. This prevents the concrete from becoming slippery when wet. Allow at least six hours drying time before walking on the driveway, and 24 hours or more before driving on it.
This article originally appeared on www.bhg.com